
Gift Decorations
Brighten Up Your Space with a DIY Wall of Lights!
Sep
A well-lit space can completely transform the ambiance of your home. If you’re looking for a creative and affordable way to add warmth and charm to your living space, consider creating a dazzling wall of lights. This DIY project not only brightens up your room but also adds a touch of magic and personality to it. In this comprehensive guide, we’ll walk you through the steps to create your own wall of lights, discuss the benefits of this project, explore its pros and cons, and provide tips for achieving a stunning result.
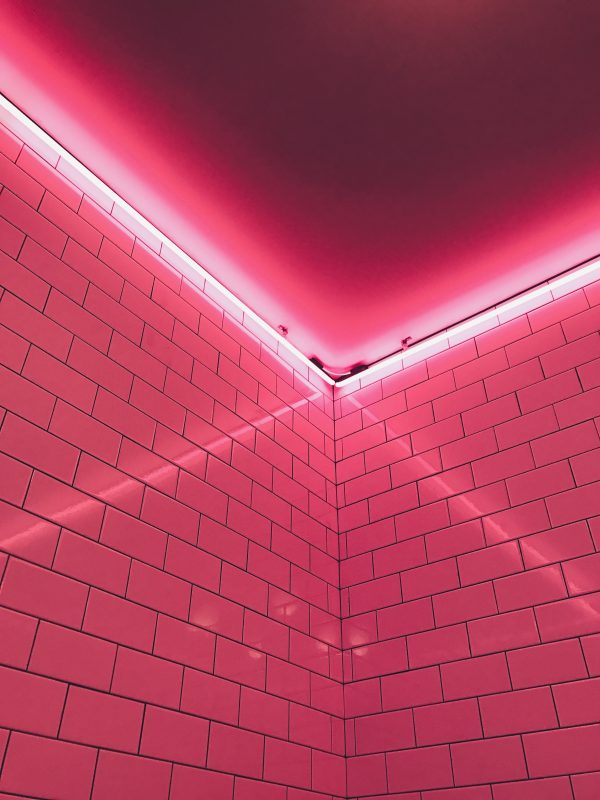
The Magic of a Wall of Lights
Benefits of Creating a Wall of Lights
Before we dive into the how-to, let’s explore the many advantages of adding a wall of lights to your space:
**1. Ambiance Enhancement: A well-designed wall of lights can instantly elevate the ambiance of any room, creating a cozy and inviting atmosphere.
**2. Visual Interest: It serves as an eye-catching focal point, drawing attention and making your space feel more dynamic.
**3. Personalization: You have the creative freedom to choose lights that match your style, whether it’s a rustic, bohemian, modern, or eclectic look.
**4. Versatile Decor: A wall of lights complements various design themes and can be easily adapted to different seasons or occasions.
**5. Budget-Friendly: This DIY project is cost-effective, allowing you to achieve a stunning decor upgrade without breaking the bank.
Now, let’s dive into the steps to create your own wall of lights.
Step-by-Step Guide: Creating Your Wall of Lights
Step 1: Gather Your Supplies
Before you start, make sure you have the following supplies:
- String Lights: Choose LED string lights for their energy efficiency and safety. You can opt for warm white lights for a cozy feel or colored lights for a playful vibe.
- Hooks or Clips: Depending on your wall type, gather appropriate hooks, clips, or adhesive hooks to hang the lights securely.
- Measuring Tape and Level: These tools ensure your lights are straight and evenly spaced.
- Pencil: To mark where you’ll place your hooks.
- Optional Decor: Consider any additional decor elements you’d like to incorporate, such as framed photos, artwork, or decorative items.
Step 2: Plan Your Design
Decide on the pattern or design you want for your wall of lights. Here are a few ideas to consider:
**1. Classic Vertical Strands: Hang the lights vertically in a uniform pattern, evenly spaced across the wall.
**2. Draped Canopy: Create a canopy effect by draping the lights diagonally or horizontally across the wall, allowing them to drape down.
**3. Zigzag or Crisscross: Arrange the lights in a zigzag or crisscross pattern for a playful and dynamic look.
**4. Shaped Patterns: Get creative by forming shapes or symbols with the lights, like a heart, star, or your initials.
Step 3: Measure and Mark
Use a measuring tape and level to mark where you’ll place your hooks or clips. Ensure they are evenly spaced and aligned according to your chosen design. This step is crucial for achieving a polished and symmetrical result.
Step 4: Hang Your Lights
Carefully hang your string lights on the hooks or clips, following the pattern you’ve planned. Take your time to ensure they are evenly spaced and taut. If you’re creating a canopy effect, make sure the draping is consistent and aesthetically pleasing.
Step 5: Add Personal Touches
To make your wall of lights even more special, consider adding personal touches like:
- Photos: Use miniature clothespins or clips to attach photos or polaroids to the string lights. This creates a personalized and nostalgic display.
- Artwork: Frame small pieces of artwork or prints and hang them among the lights for a gallery wall effect.
- Quotes: Add inspirational quotes or messages by attaching them to the lights using decorative clips.
- Decorative Items: Incorporate decorative items like small dreamcatchers, artificial flowers, or tiny lanterns for extra flair.
Step 6: Test and Adjust
Before finalizing your wall of lights, test the lights to ensure they are all working correctly. Make any necessary adjustments in terms of spacing or design. Once you’re satisfied, secure any loose wires or cords neatly.
Pros and Cons of a Wall of Lights
Now that you know how to create your own wall of lights, let’s explore the pros and cons of this decorative project:
Pros:
**1. Instant Charm: A wall of lights instantly adds charm and coziness to your space.
**2. Personalization: You can tailor the design to your style and preferences, making it a reflection of your personality.
**3. Budget-Friendly: It’s a cost-effective way to transform a room’s ambiance without a major investment.
**4. Versatile: You can adapt the design for various occasions or seasons by adding or removing decor elements.
**5. Easy to Update: If you ever want to change the look of your room, it’s relatively easy to remove and rearrange the lights.
Cons:
**1. Installation Challenges: Depending on your wall type, installing the hooks or clips may be challenging, especially if you have plaster or brick walls.
**2. Maintenance: Dust can accumulate on the lights over time, requiring occasional cleaning.
**3. Light Glare: In some cases, the brightness of the lights may cause glare on screens or reflective surfaces.
**4. Electrical Considerations: Ensure that you have easy access to power outlets or extension cords if needed.
In Conclusion
Creating a wall of lights is a fantastic way to brighten up your space and infuse it with character and warmth. Whether you prefer a minimalist design with simple string lights or a more elaborate display with personal touches, this DIY project offers endless possibilities for customization. With a little creativity and patience, you can transform your room into a cozy and enchanting haven that you’ll love spending time in. So, gather your supplies and start brightening up your space with your very own wall of lights!